Prusacaster: A 3D printed electric guitar
Created: 2024-10-24
- Prusacaster Uno and Dos
- The mother core, the very heart of the guitar
- All the parts!
- Build the rest of the guitar
- Burn the bridge when we get there
- Electric boogaloo
- Strings, action and tuning
- 1, 2, 3 and ACTION!
- Sound test - it's alive
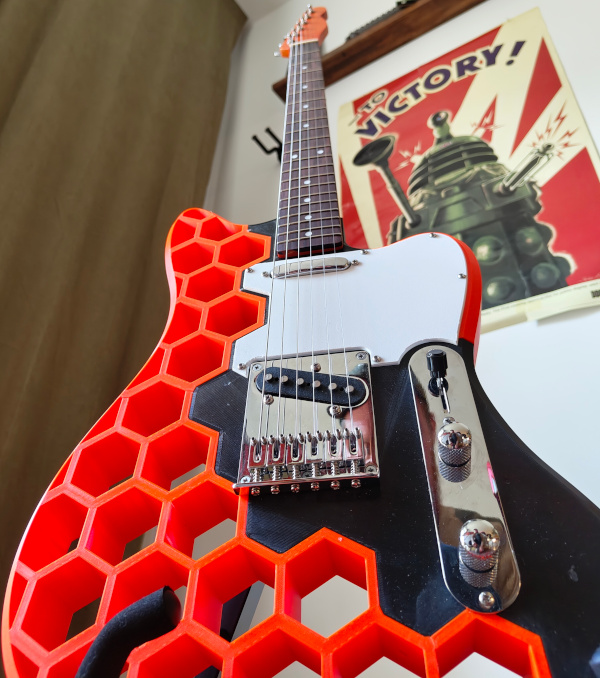
A few months ago, my friend Rasmus sent me a link to a DIY electric guitar build. I can't find the link anymore, but I remember it seemed doable, with only a few parts and steps, so I told him "Why don't we build it ourselves!". Many months later, we finally did build our own guitars. This post shows some steps of the process that might be interesting to see and read about. If you're looking for a step-by-step guide to building an electric guitar, I recommend Prusacaster. Our build is more or less based on that guide.
It's not a coincidence the build is called "Prusacaster". The Prusacaster is a DIY electric guitar where "Prusa-" comes from the 3D printer manufacturer known for their quality printers, and "-caster" from the iconic Fender guitar "Telecaster". Guitar enthusiasts often refer to T-style guitars, which are guitars heavily based on the Fender Telecaster, a classic that dates back to the 1950s. The Prusacaster guitar is built using the Harley Benton kit from Thomann, which, as you might guess, is a T-style kit. This kit includes all the parts needed to build a complete guitar. You can buy this kit and assemble the guitar needing a 3D printer. At the start of our project, however, the kits were out of stock, so we went a different route. Our strategy was to find parts online and put together our own "kit" in a sense.
As of today, the kit is back in stock, and it makes the process much more streamlined, so it’s worth considering if you're thinking of building your own. But this post is about our heavily modified and slightly yank Prusacaster build.
These are the parts we bought from popular online action sites and physical stores, in no particular order:
- 2 sets of squire pickups (bridge and neck).
- 2 volume control and tone control
- 2 three-way switches
- 2 pickguards
- 1 set of tuning pegs
- 1 set of saddles (no bridge)
- 2 6.3mm stereo switch
- 2 B-Stock Telecaster Electric Guitar Neck
- 2 Telecaster bridge tailpiece
- Earnie Ball 9g strings (can be any type of string, 9g puts less stress on the guitar core)
In total, all the parts cost about 1230 SEK, which is roughly 570 SEK per guitar (about 50 EUR).
Prusacaster Uno and Dos
The first guitar I built on my own. The idea was to figure out where everything is installed and make all mistakes before starting on the second one with my friend.
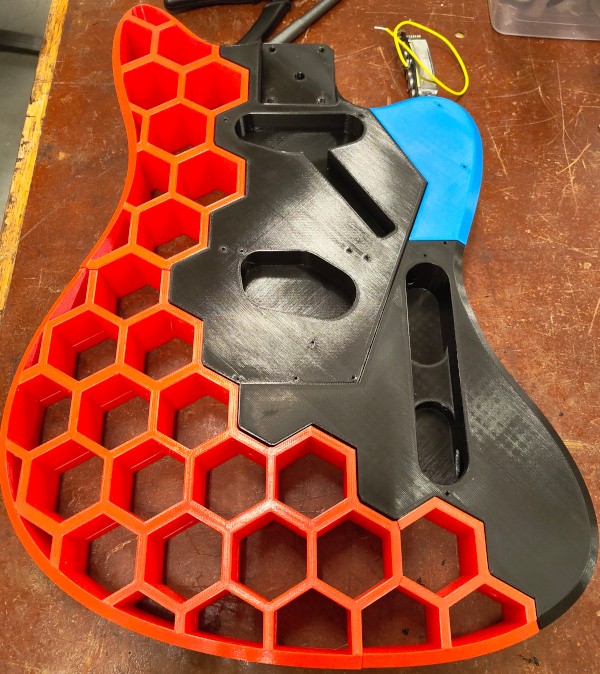
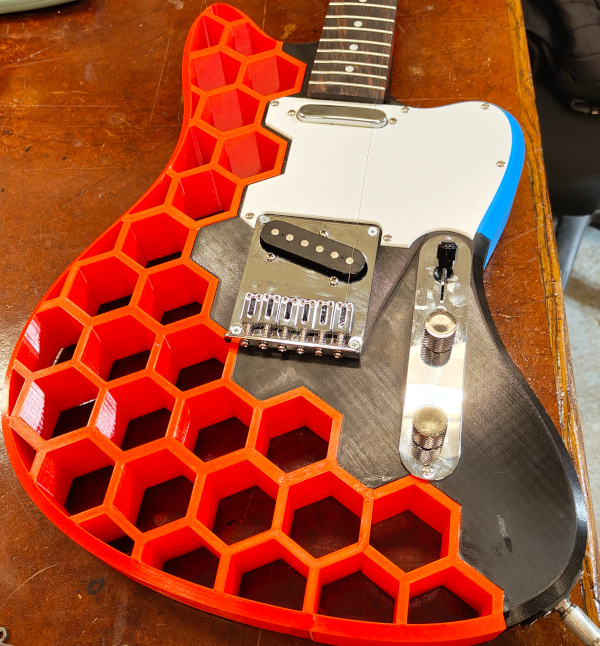
This was the first picture I took during this project. In other words: woah, an orange piece of plastic! This is the top part of the guitar body, full of honeycomb-shaped holes! Not much of a guitar yet, but it's getting there.
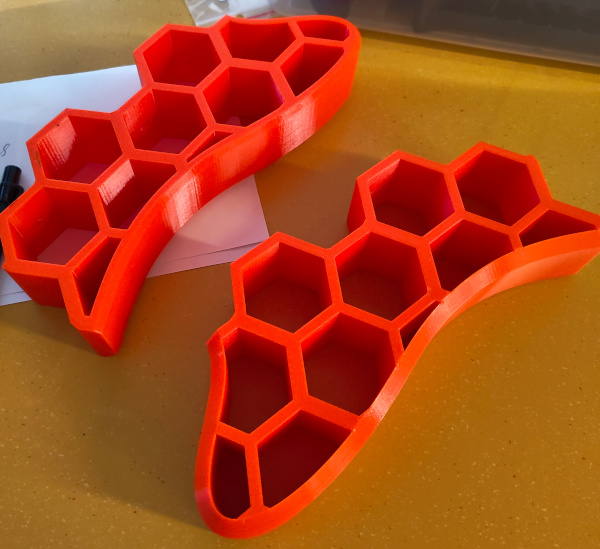
Throughout this post you'll see two guitars: one with all body details in orange (mine) and with a blue section (Rasmus's guitar).
The mother core, the very heart of the guitar
The guitar core is the essential part of the guitar body where the bridge is installed, along with all the electronics, volume and tone controller. With just a guitar core and neck, you have a "fully" functioning electric guitar. You can even play without a neck....
The Prusacaster guide recommends printing the guitar core in PLA plastic, which in theory handles the stress from the guitar strings better than other materials like PETG. However, I decided to experiment and printed mine in PETG with 40% infill, hoping it would withstand the strain over time. We’ll see if there’s a follow-up post on that! :)
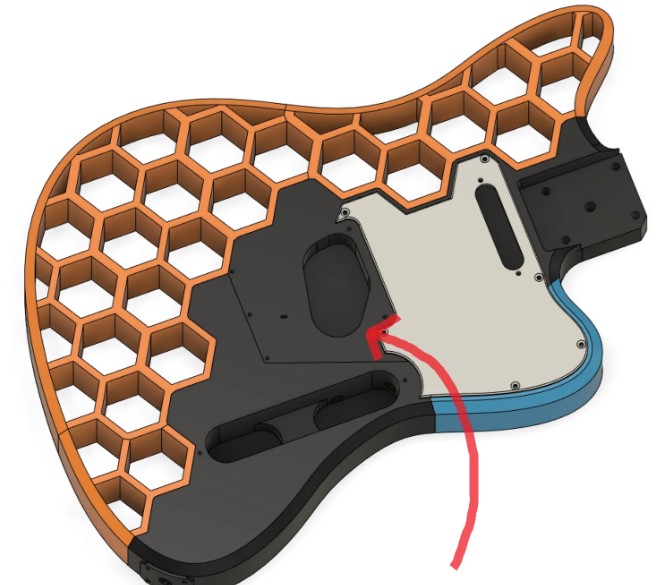
In the picture, you can see a cancelled print of a guitar core part due to some random read error from USB memory, likely caused by corrupt memory or filesystem. This is speculation, however, the point is this part had to be re-printed.
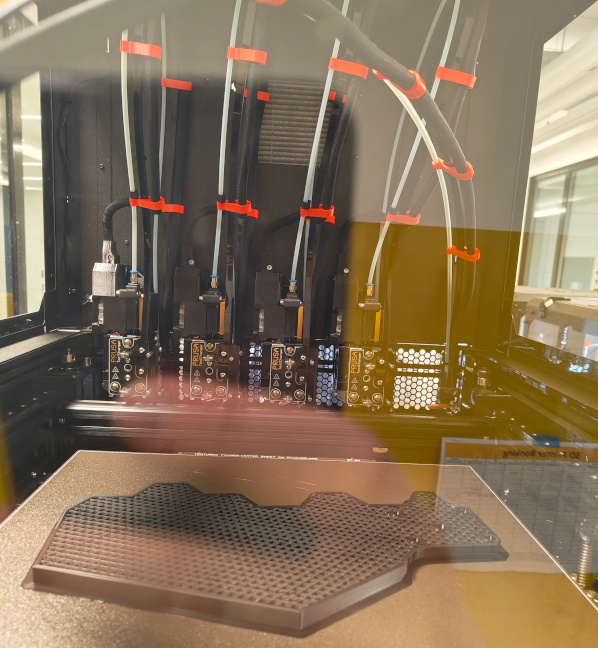
Once all the 3D-printed parts were done, they were aligned and ready to be glued together.
All the parts!
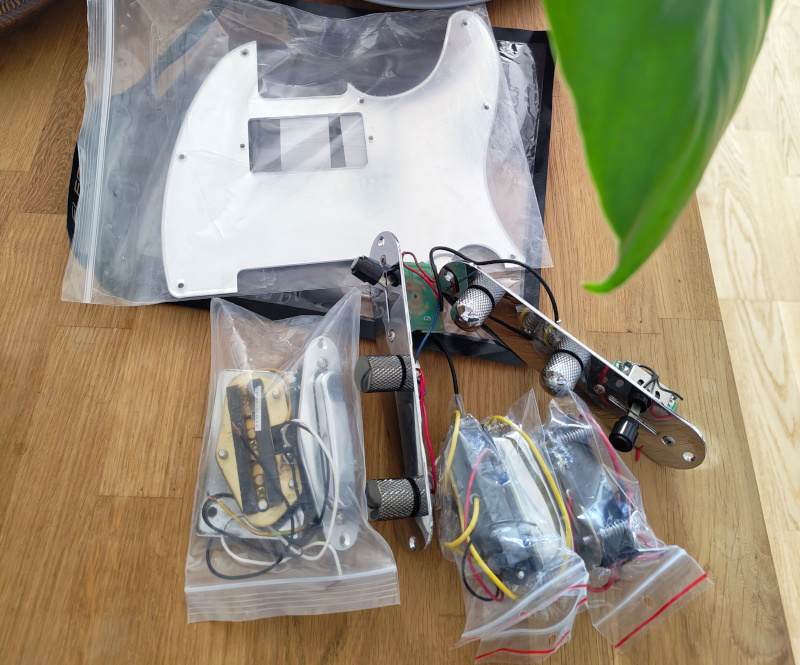
This picture shows when the parts arrived. Unfortunately, the pickguards in the image don't fit the Prusacaster since the mounting holes don't
align with the core part, and they are way to big, sticking out awkardly.
Build the rest of the guitar
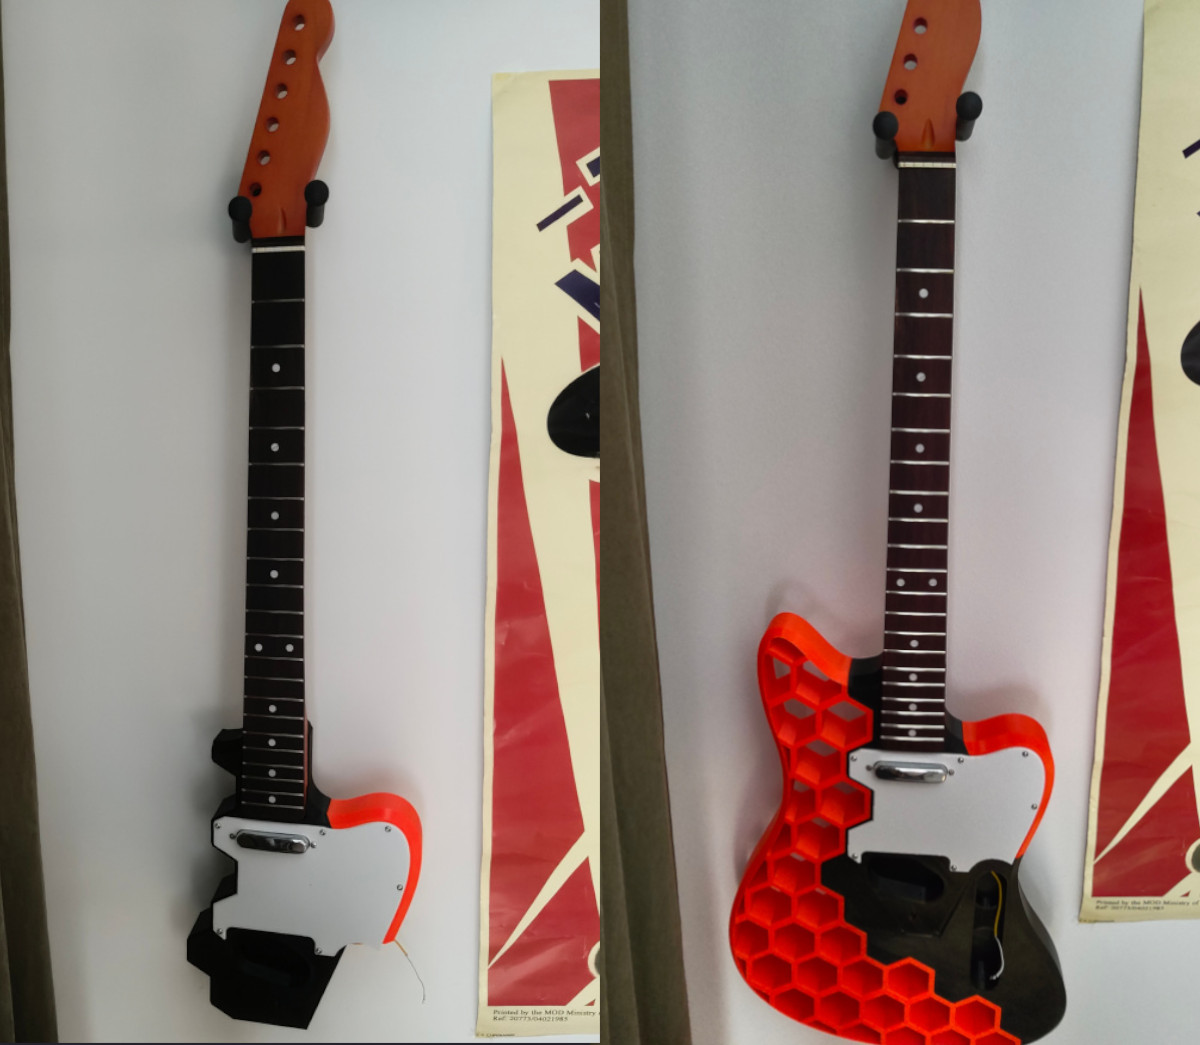
To get a sense of the guitar size, I installed the neck and some of the parts (pickup and guard) and took a picture of the progress. On the left, not all parts are printed yet, and no parts are glued - only screws in the pickguard are holding the body together. On the right, all guitar body parts were glued, though the bridge and volume controller are not installed yet.
Burn the bridge when we get there
The bridge part is where all the strings are installed, and where the bridge pickup is housed. Installing the this part turned out to be more involved than I expected.
When the bridge finally arrived, I was excited - until I realised that the strings on this particular bridge are fed through the bottom of the guitar. This wasn't what I expected, as the guitar core wasn't designed for this type of bridge. The Prusacaster is built for a "classic bridge" where the strings are installed by being squeezed between the bridge and the core part.
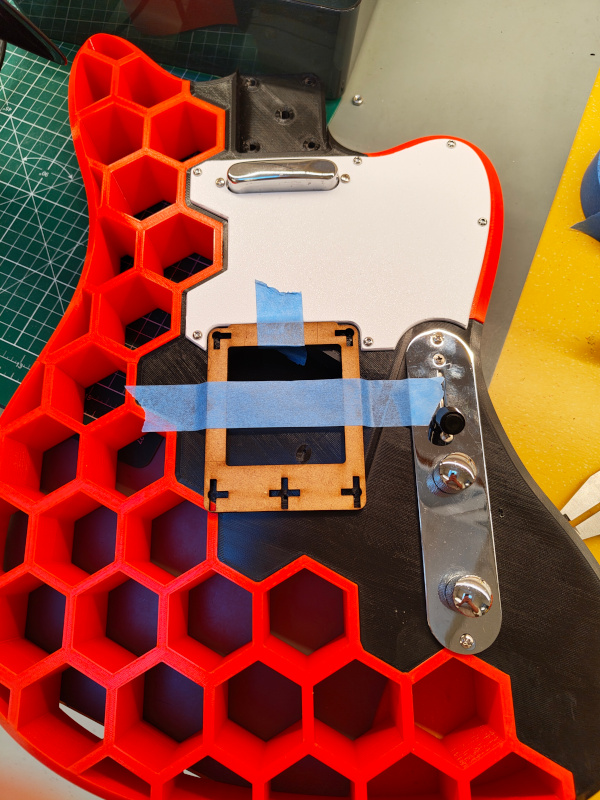
I had to make some "minor adjustments" to accommodate for this bridge - specifically, drilling. Drilling in 3D prints isn't ideal, it was yank but kinda worked anyways. I used the bridge's screw holes to guide the drill bit.
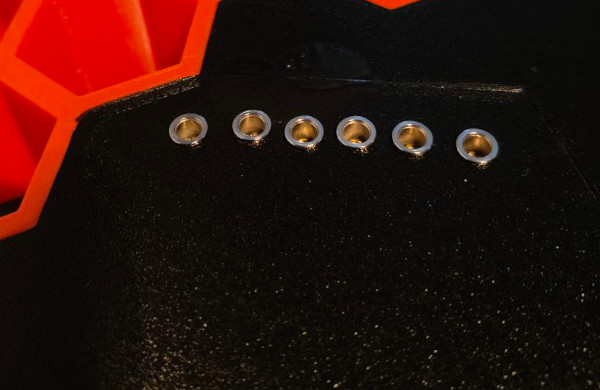
...yes, the holes are not fully aligned.
Also, the mounting screws for the bridge were offset compare to the intended Prusacaster bridge. For this however I made a jig to line up the holes, to once again drill.
Electric boogaloo
Wiring up the electronics was pretty straightforward. We used the first easy-to-read diagram that popped up when searching "Telecaster wiring diagram".
We used this guide describing what pickups goes where and where the signal is output This is the guide we used. It describes where the signal and ground wires are going, through the volume and 3-way switch and finally to the output jack. 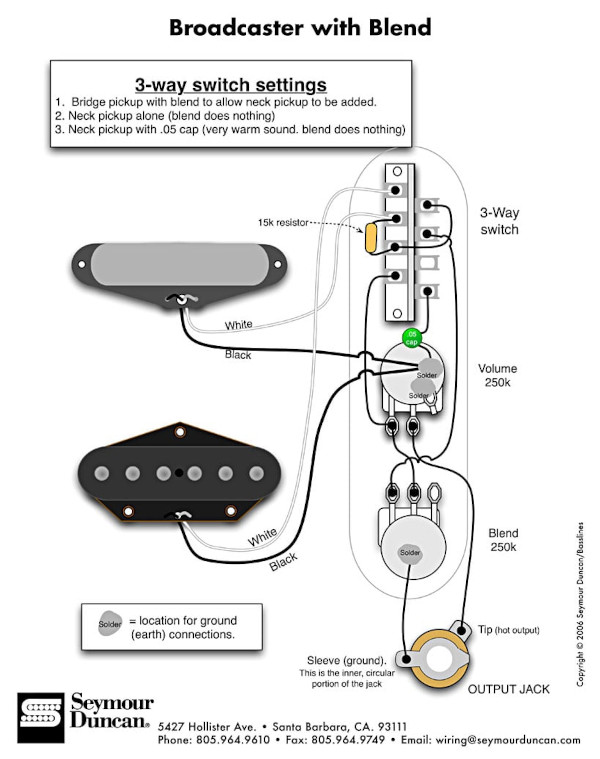
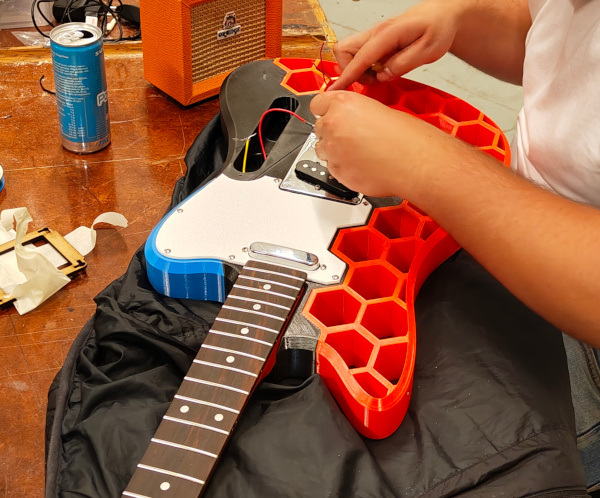
In this picture we are preparing to solder the wires from coming from the pickups.
Strings, action and tuning
Now the guitars were almost complete, but a crucial part is missing: the strings.
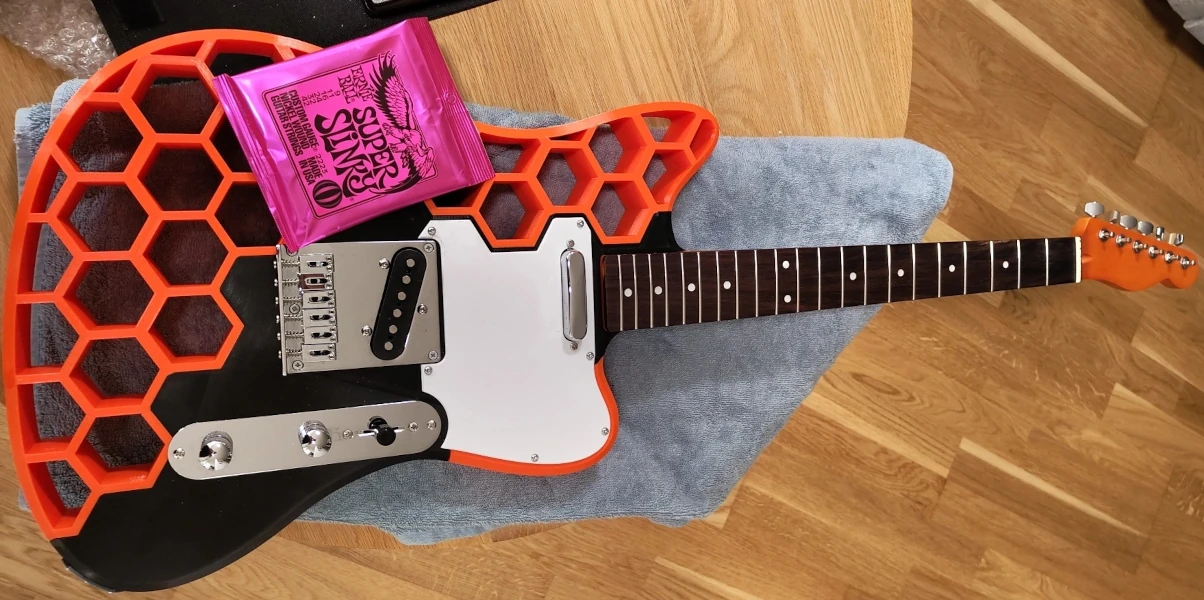
One string installed! At this point we connected the guitar to an amplifier and shredded on this single string. The pickups made their job and picked up the vibration from the string and output to the speakers. Works great. After this we installed he rest of the strings.
The process of installing strings was unknown to me before this project. This is how we did it:
- Feed a string through the bottom of the guitar up along the neck and into the tuner peg.
- Strain the string by pulling it towards the peg.
- Pull back string one fret.
- Start tightening the tuning peg screw.
1, 2, 3 and ACTION!
I learned that the distance between the strings and the fretboard is called action, and it can be adjusted if the bridge allows it. Our bridges allow action adjustment, and I set mine as low as possible without causing string buzzing.
For tuning, we used an app since neither of us has perfect pitch.
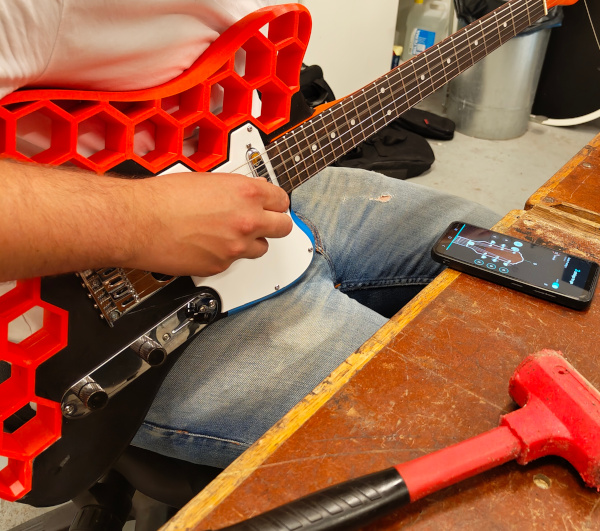
Sound test - it's alive
Finally, both of the guitars were complete! Here's a recording sample Rasmus sent me. It actually sounds like an electric guitar!
(if embedded youtube link does not work for some reason here is a link)
